

When you create a Support Hub account, your help desk will be available at the support-hub.io subdomain you chose during the sign-up process. This means that if you select a test subdomain on sign-up, you will be able to access your help desk via https://test.support-hub.io.
However, if you would like to use a custom domain or subdomain like support.yourcompany.com for example, here is how you can set that up:
1) Help Desk Branding Settings
First, you will need to update the custom domain settings field for your account.
When you are logged in as admin, there is a new Settings > General > Custom Domain section where you can set up your custom help desk domain and SSL certificates.
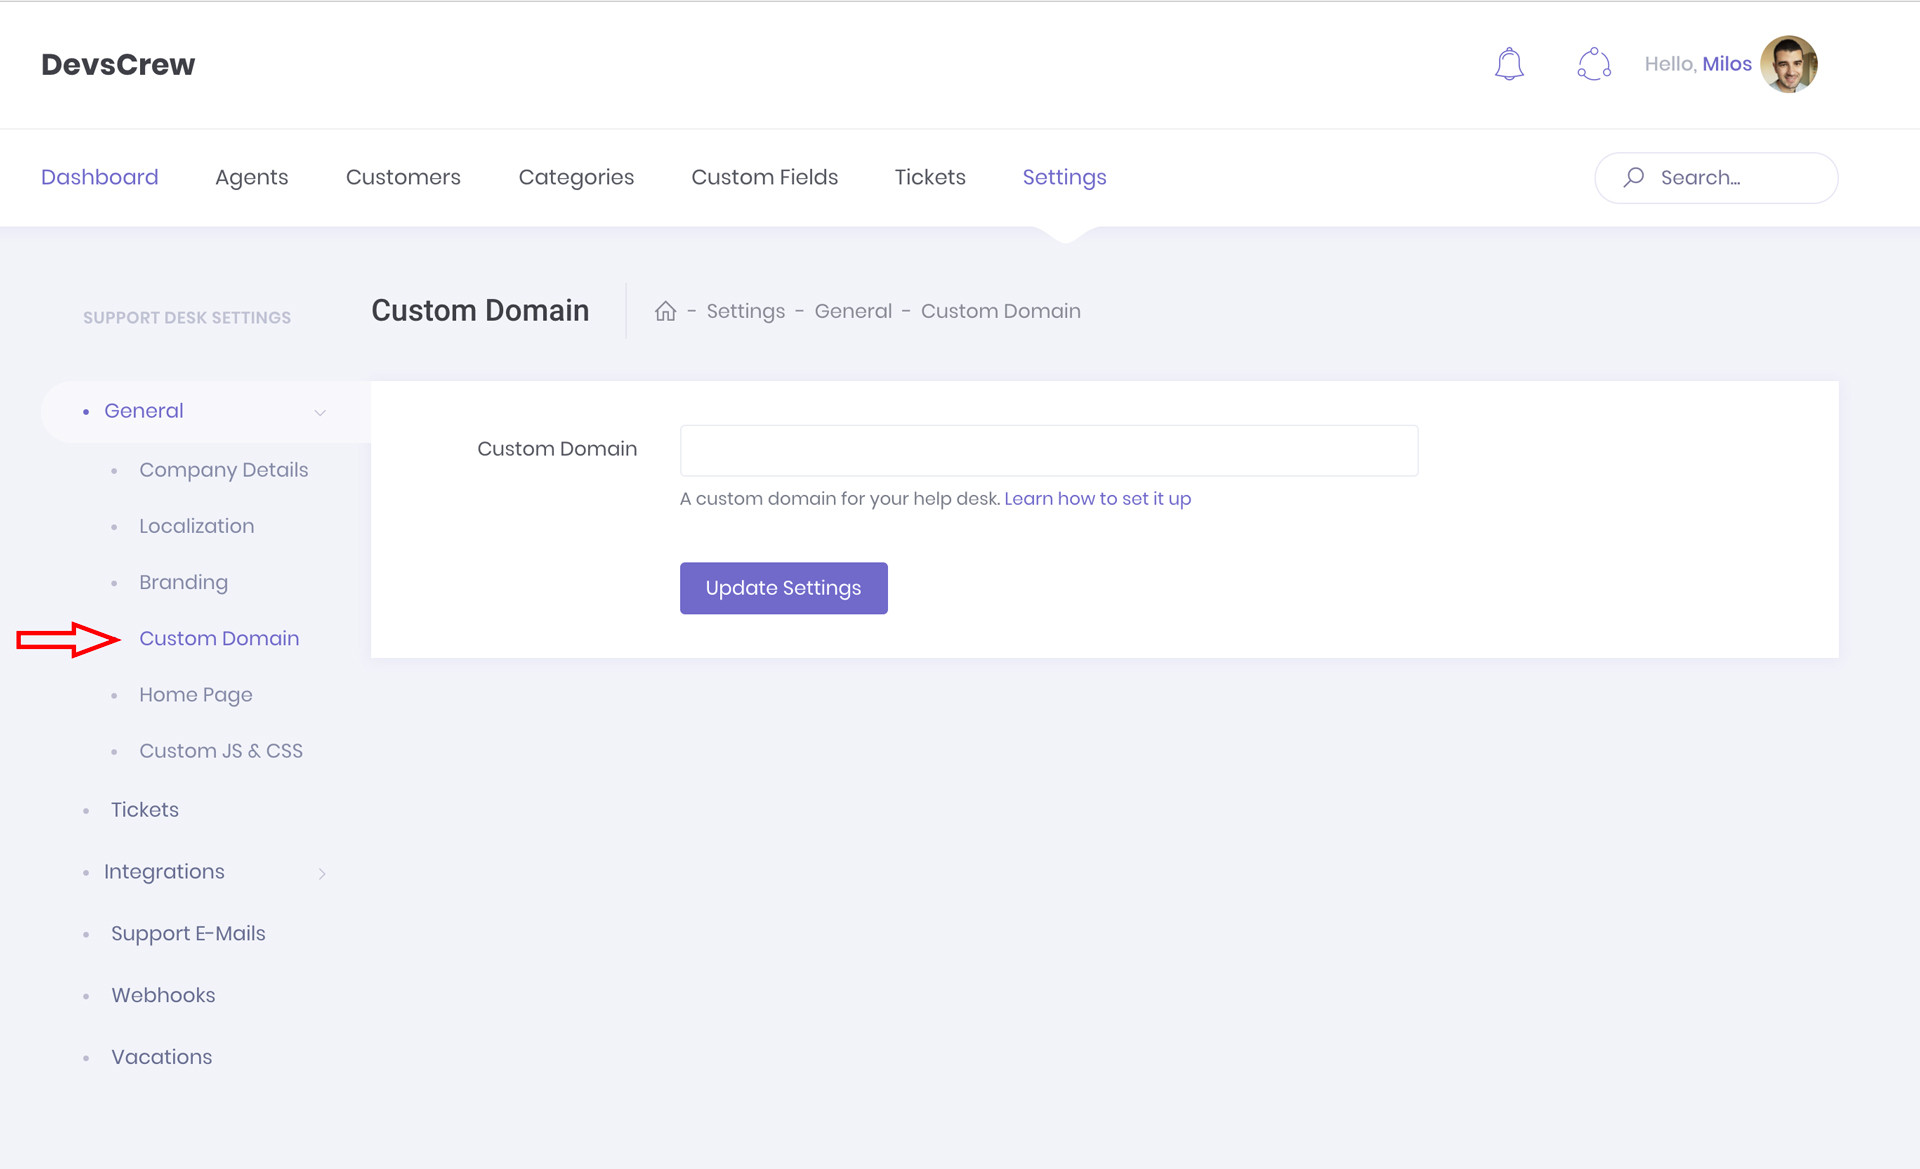
To add a custom domain, simply fill the custom domain input field with your desired domain (just the domain, without http://,https:// or www part) and press Update Settings button.
Support Hub will set up all the necessary things for you and you should see the screen below:
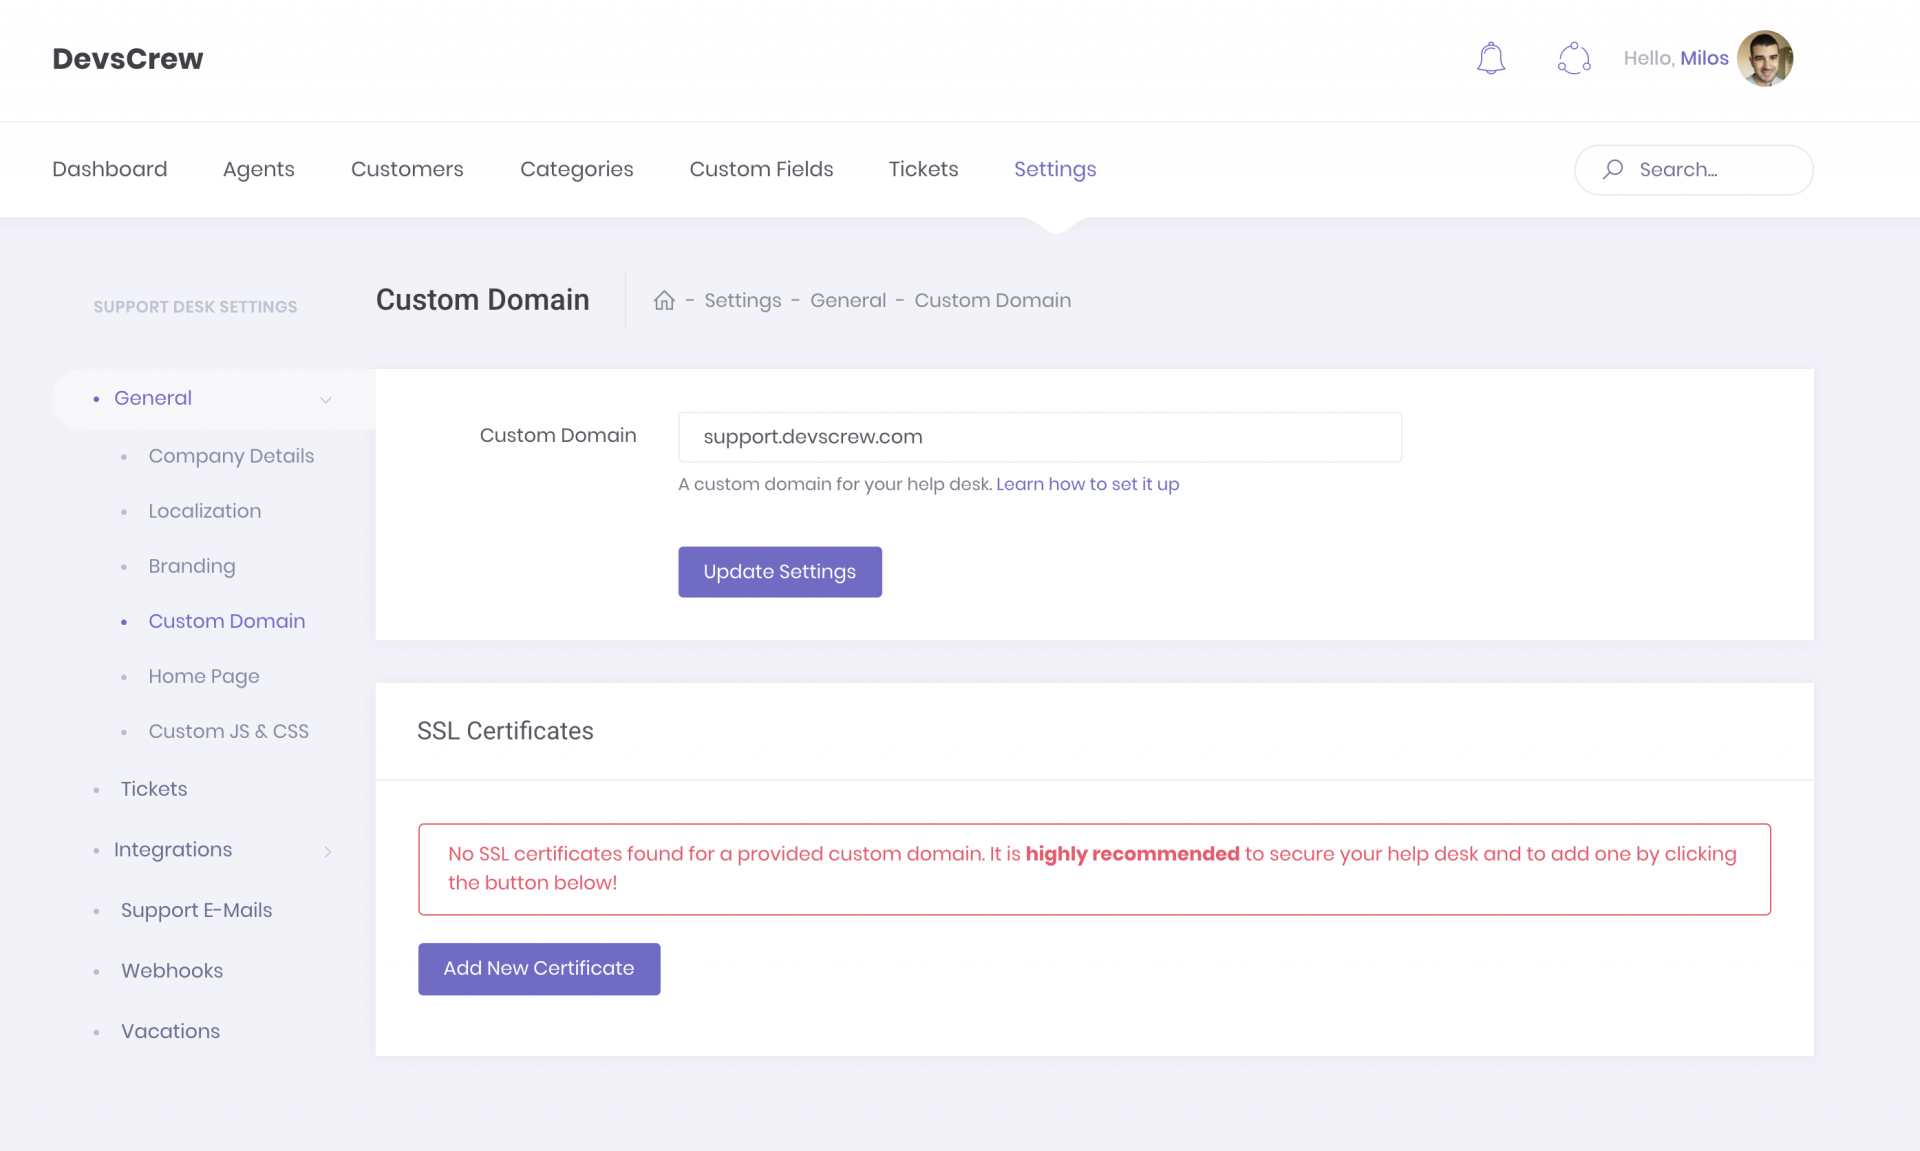
NOTE: To remove and disable custom domain help desk access, just remove the domain from the input field (leave the field blank) and click the Update Settings button.
2) Custom CNAME Record
Next step is to set up a custom CNAME DNS record for your desired domain. The way you configure the DNS records depends on the DNS provider you use, so if you have some issues we will recommend you to contact your DNS hosting provider support to help you out with it.
As an example, here is how you can configure it with CloudFlare:
- Set up CloudFlare as a DNS resolver. More info on how to do it is available inside CloudFlare's documentation.
- Go to a DNS section in CloudFlare and add one more CNAME record. For our example, we will name it "support"
- Point it at the Support Hub's domain: custom.support-hub.io
NOTE: Don't be confused, it doesn't matter what your Support Hub subdomain is, you should always point the DNS to custom.support-hub.io!
We want to use CloudFlare for DNS purposes only which means that we need to click on the Cloud icon to make it gray. The end result for this CNAME record will look like the following:

NOTE: Keep in mind that DNS changes sometimes can take up to 72 hours to take effect, but it is usually much faster and it should take effects in a matter of minutes.
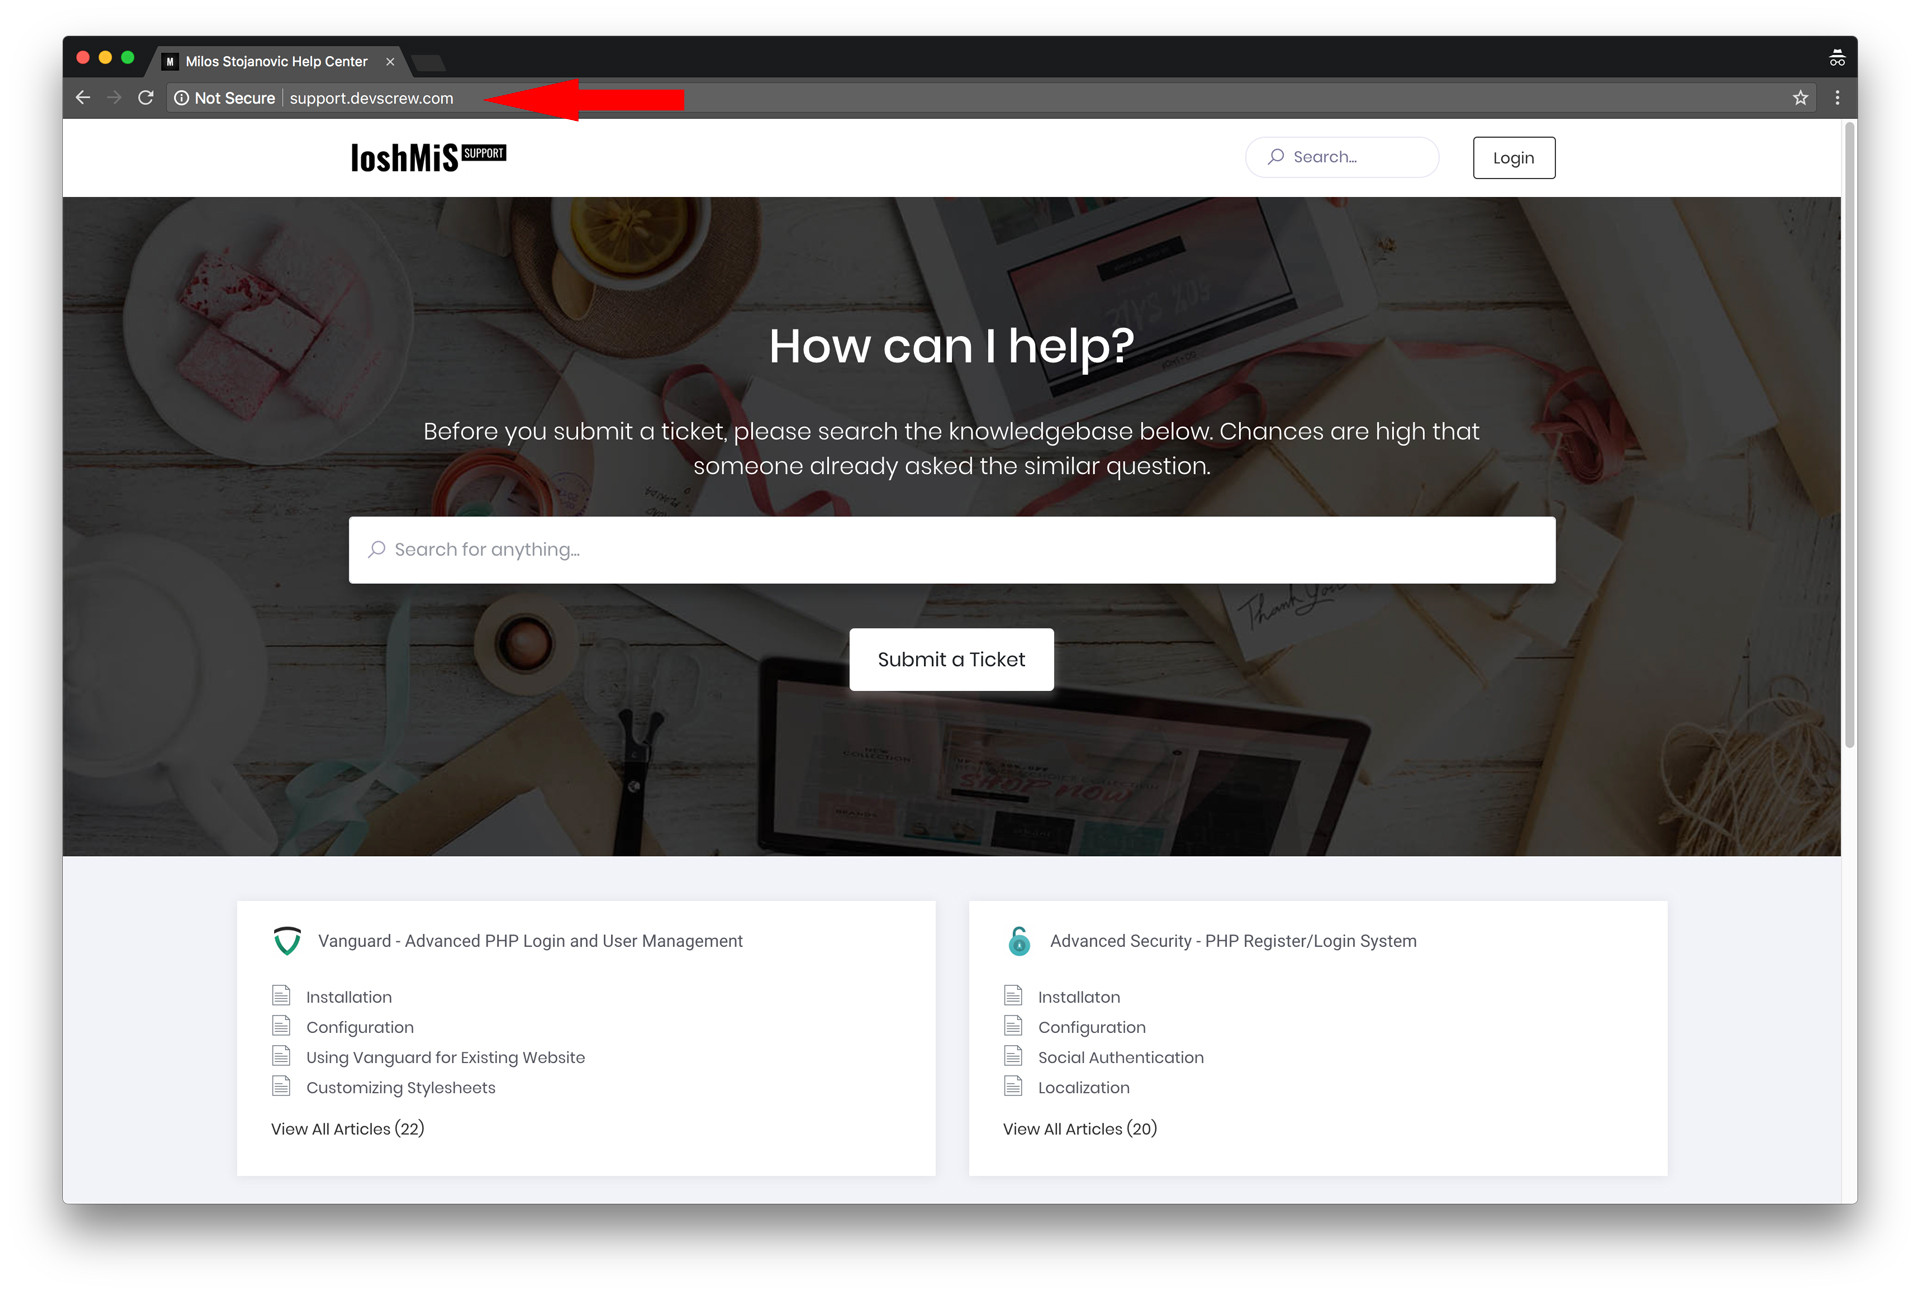
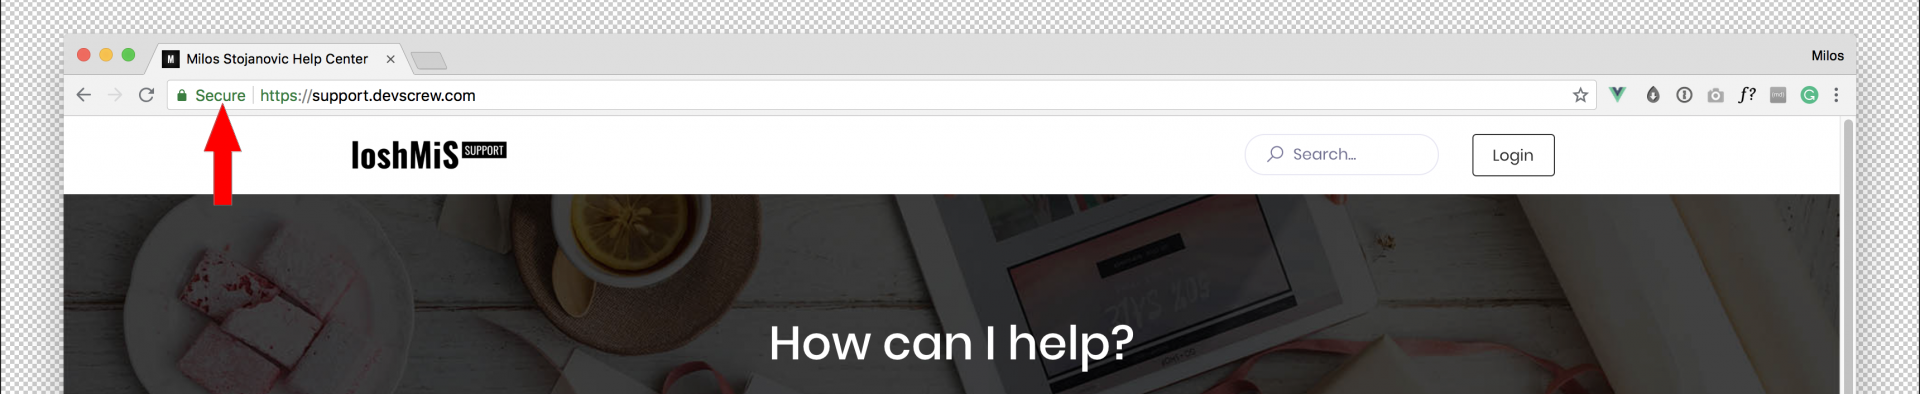
As soon as DNS records are propagated you can visit your custom domain in a browser (in our case it is support.devscrew.com) and it should successfully open your help desk.
3) SSL Configuration
Although you can access your help desk through a custom domain now, there is no security certificate installed for that custom domain and it will appear as "not secure" in some browsers.

SSL (Secure Socket Layer) is an encryption protocol that ensures secure communications with your website. When you have a proper SSL certificate installed it means that all communications between a web browser and the server are encrypted. It is highly recommended to install the SSL certificate to make your help desk secure!
Luckily, Support Hub makes installing an SSL certificate for your custom domain a breeze.
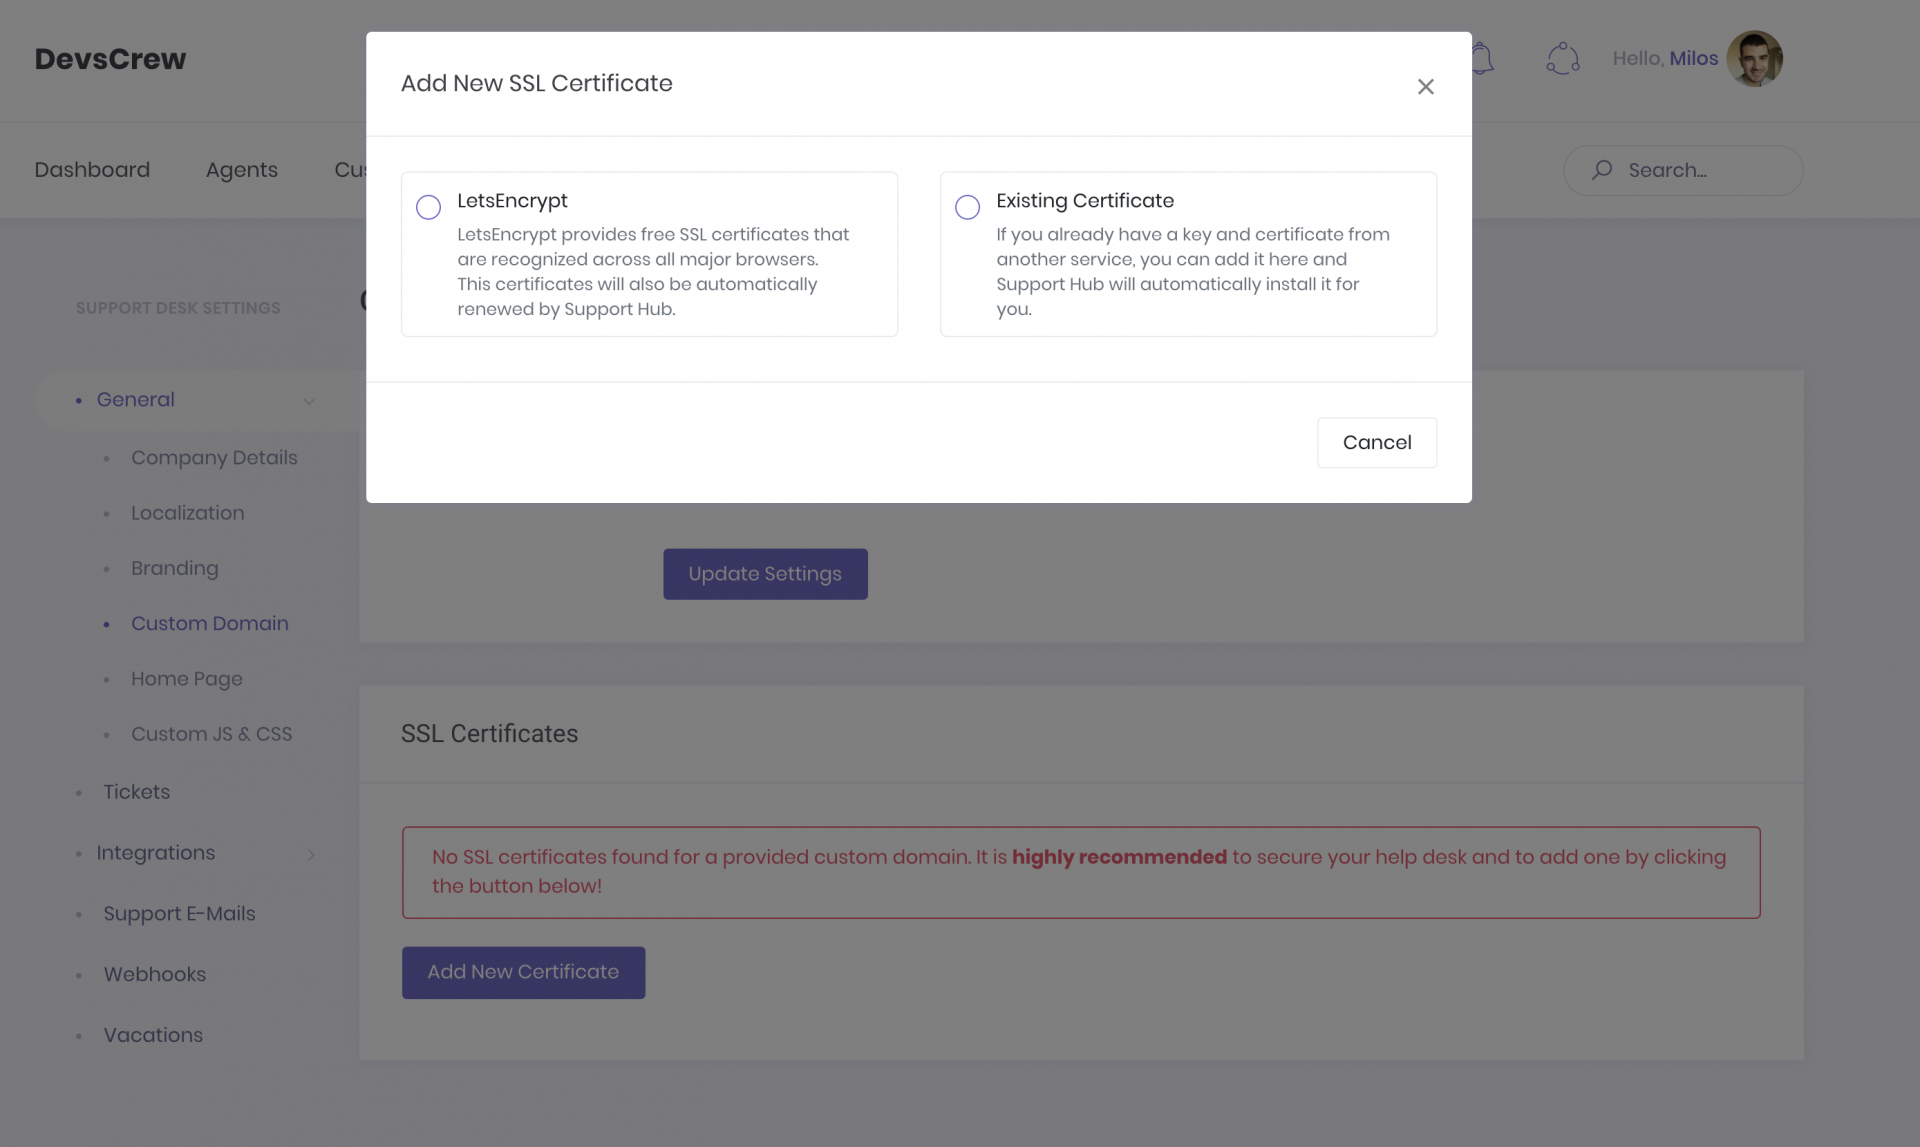
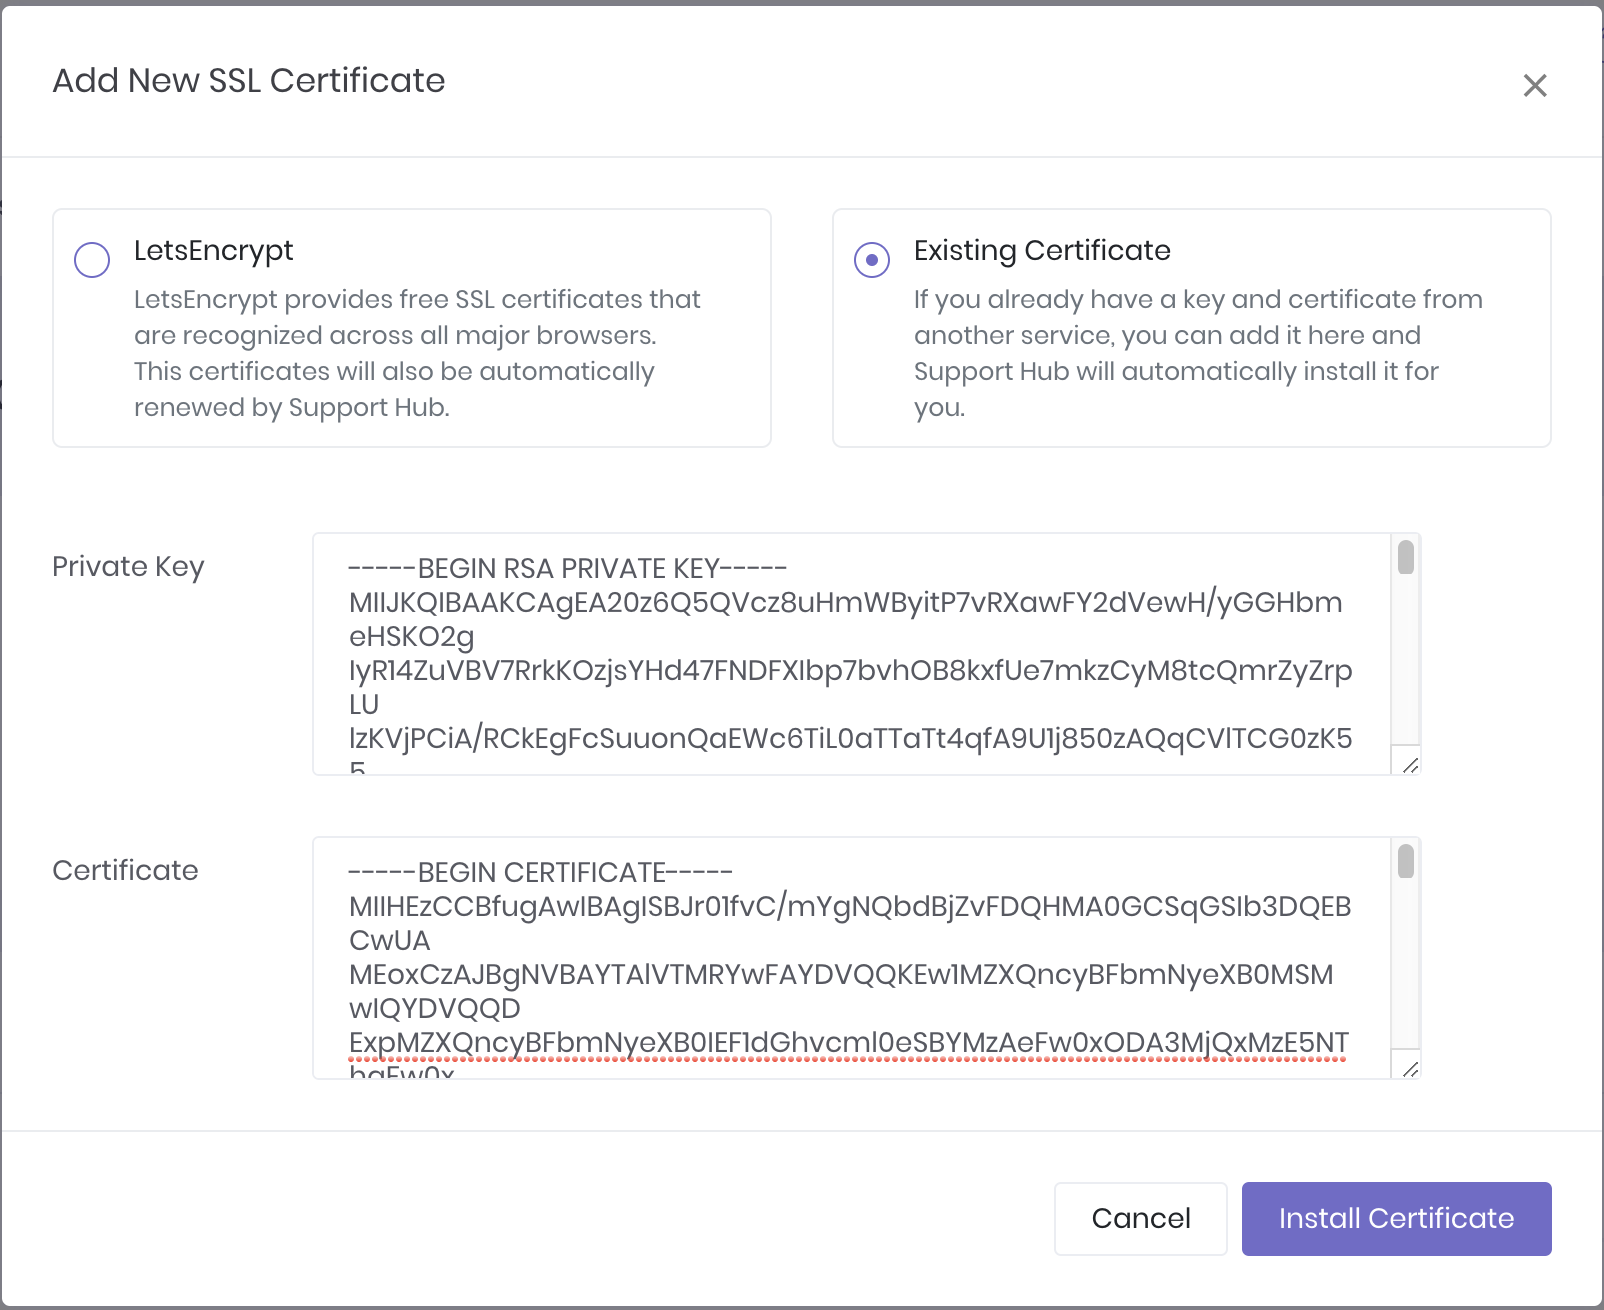
While you are on a Custom Domain settings page, click the Add New Certificate button. It will open a pop-up modal where you can select how you want to install the certificate by choosing between a free automatically generated certificate from LetsEncrypt or by uploading your own SSL certificate if you already have one.
Support Hub will allow you to have multiple certificates installed and only one active certificate, which means that you can change the active certificate whenever you want.
Installing LetsEncrypt Certificate
The easiest way to secure your website with a valid SSL certificate is to install one from LetsEncrypt. To do that, just select the "LetsEncrypt" option and click Obtain Certificate button.

Support Hub will do all the work automatically and obtain a valid SSL certificate for your custom domain.
As soon as the certificate is installed, all you need to do is to activate it by clicking the "Activate" link like in the example below:
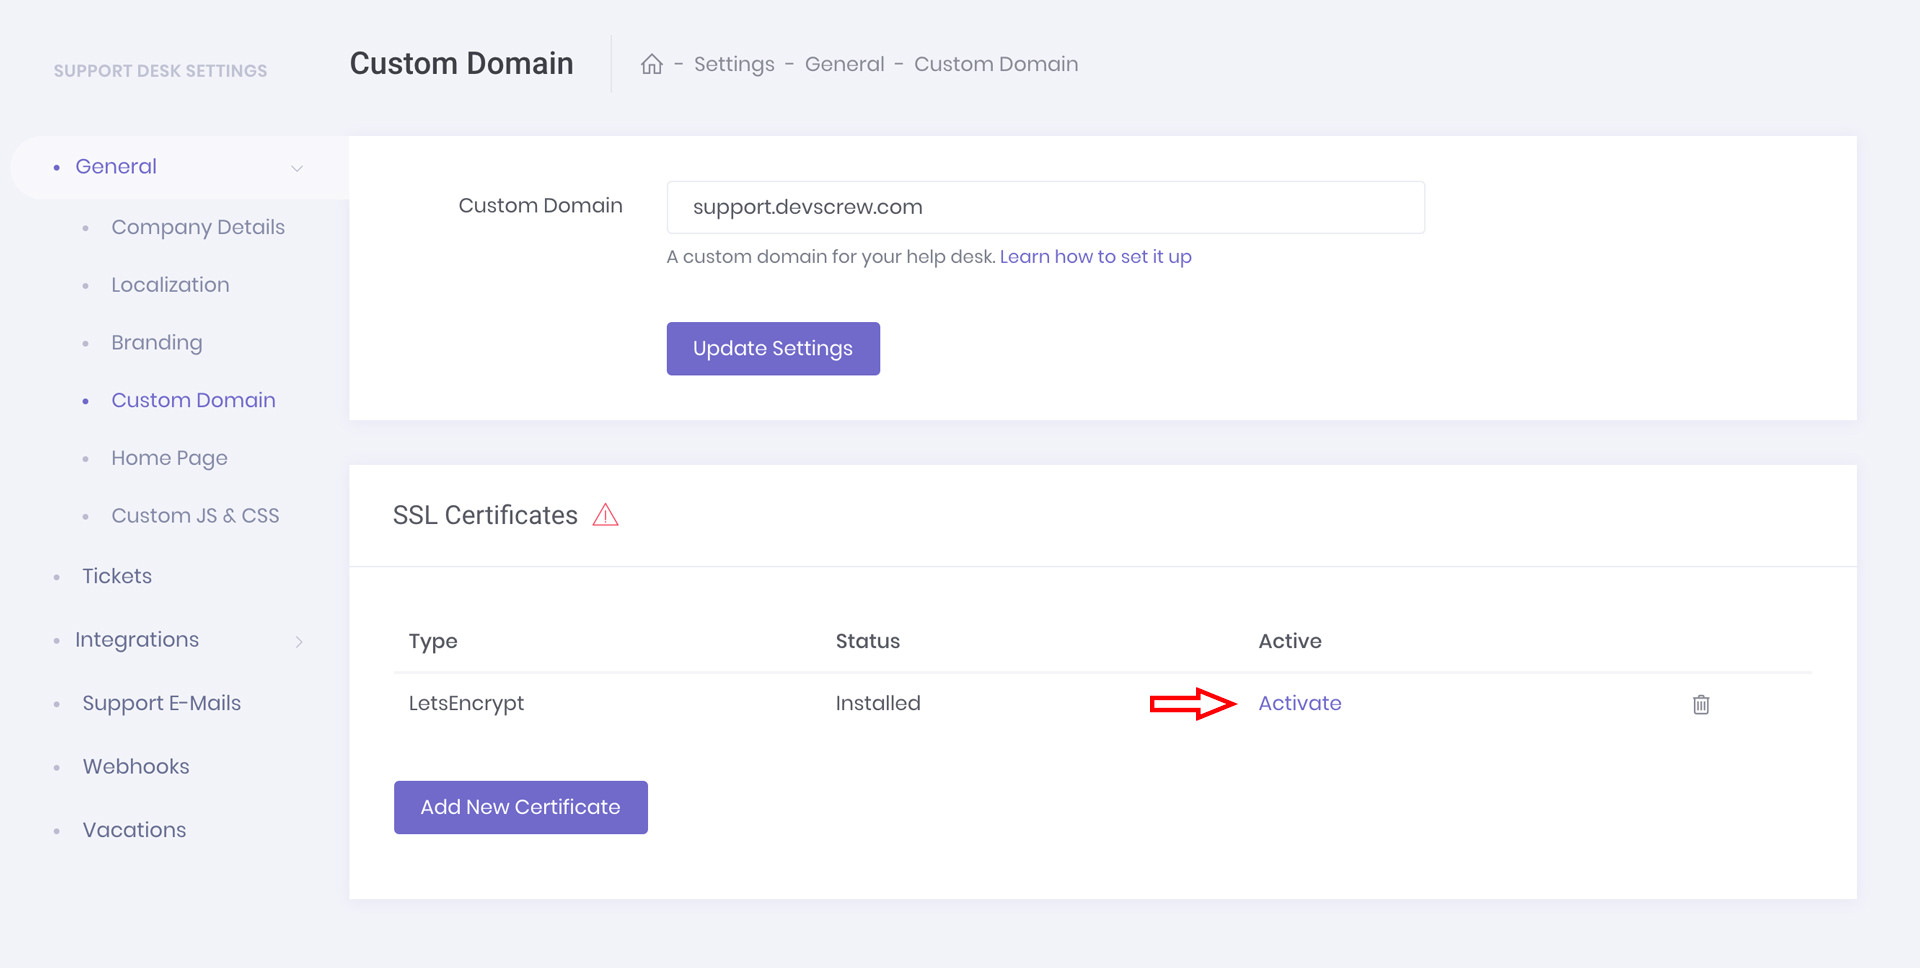
It will take a few seconds to activate the certificate, but as soon as it is activated your help desk will be fully secured if you access it via the custom domain.
IMPORTANT: All active LetsEncrypt certificates will be automatically renewed by Support Hub so you don't need to worry about it.
Uploading Existing Certificate
If you already have an SSL certificate generated somewhere else, you can easily upload it to Support Hub and use that one to secure your help desk custom domain.
To upload an existing certificate, select the "Existing Certificate" option inside the "Add New SSL Certificate" modal, paste your certificate private key and the certificate itself and hit the Install Certificate button.
Support Hub will install the certificate for you and you can then activate it by clicking the "Activate" link, the same way you do it for LetsEncrypt certificates.
Keep in mind that manually uploaded certificates cannot be automatically renewed by Support Hub, which means that you will need to keep an eye on certificate expiration date and upload a new one before it expires.