

If you want to allow tickets only for customers with valid Envato support, you will need to do two things:
- To connect your Envato account with Support Hub
- To add your own Envato application to Support Hub
Connecting your Envato account
In order to connect your Envato account with Support Hub, all you need to do is to go to "Settings >> Integrations >> Envato" and click the "Connect" button, like it is displayed on the image below: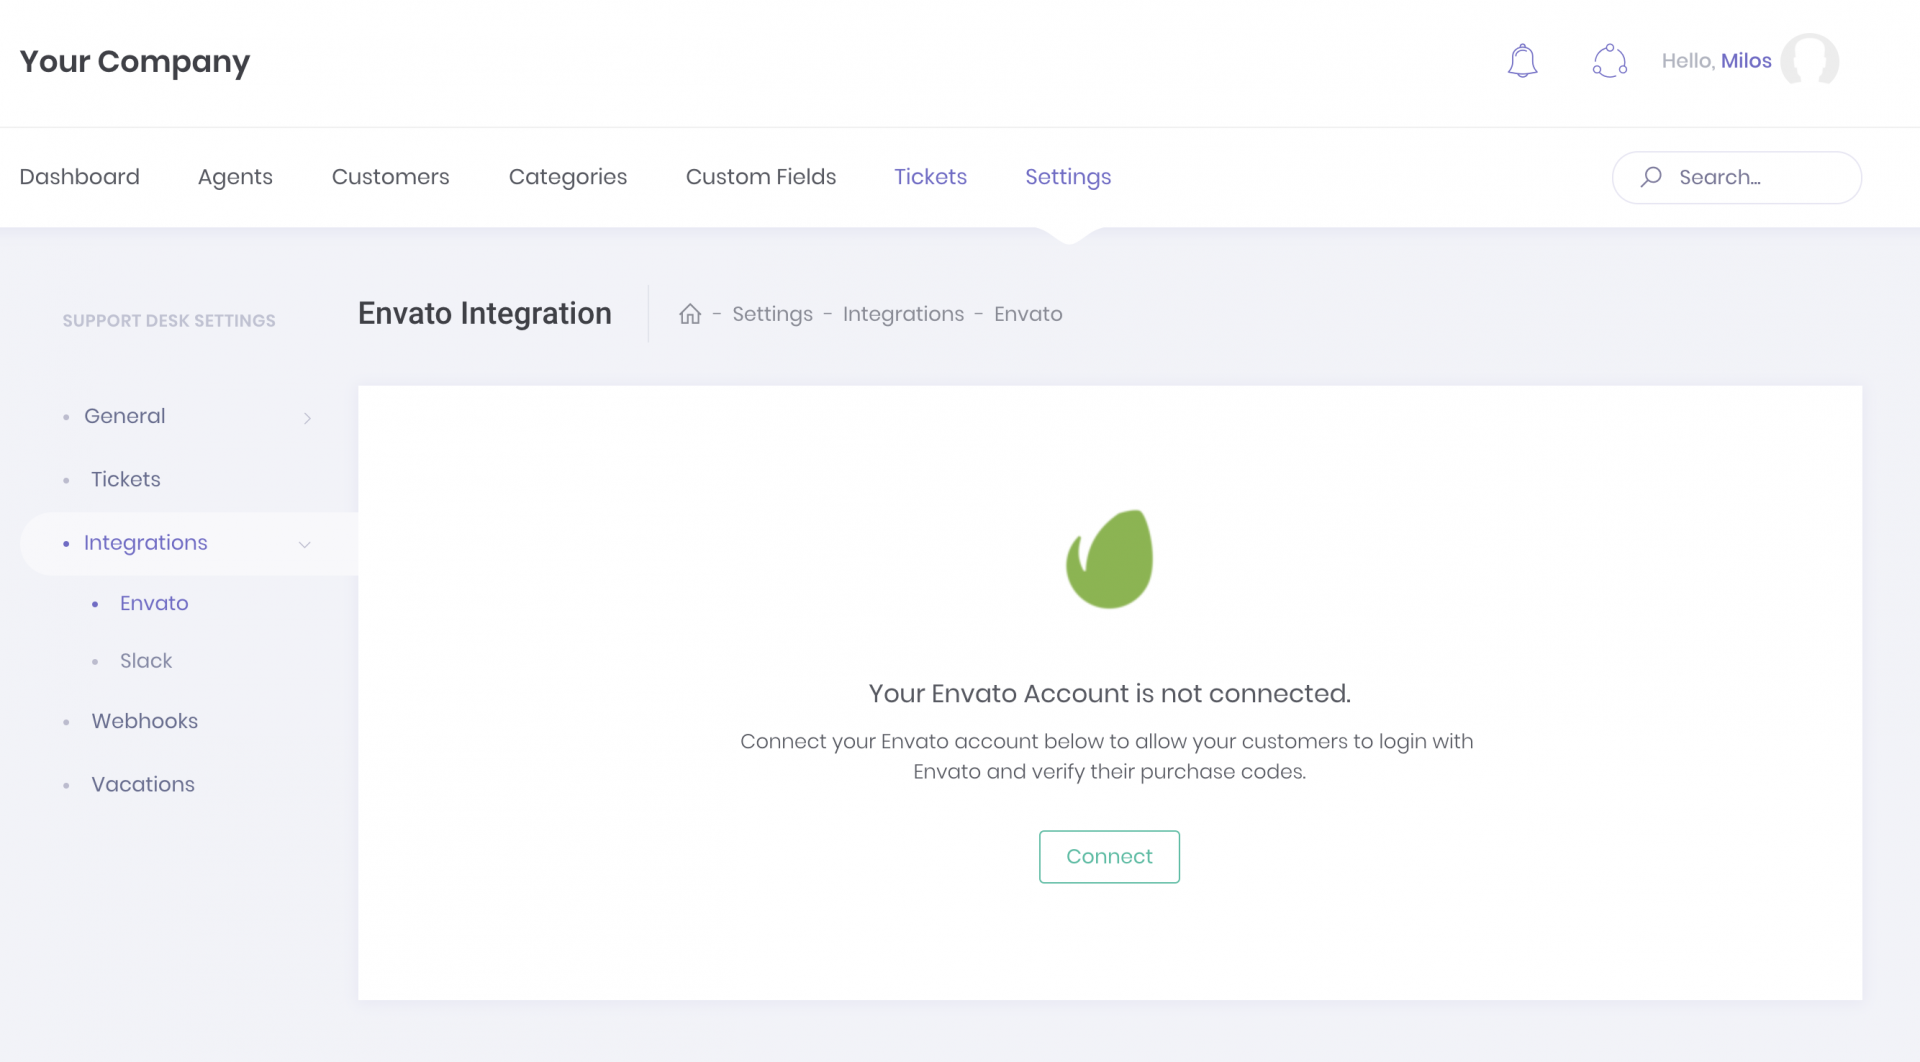
Once your Envato account is connected to Support Hub, you can proceed and add your own Envato app to allow your users to log in with Envato and to automatically verify their purchase codes.
Adding Envato Application
If you have some experience with Envato API, this will be a breeze for you. But, even if you have never worked with it before, we will cover it here, step by step.
Step 1: Registering new Envato application
Head over to https://build.envato.com/, scroll down a bit and click on a big green button titled Register your app to get started.This will take you to a "Register your app" page where you need to provide some application details.
Application Name
Pick anything you want for an application name. This will be visible to your customers so it's recommended to pick something that will be familiar to your customers like your company name or Envato username, etc.
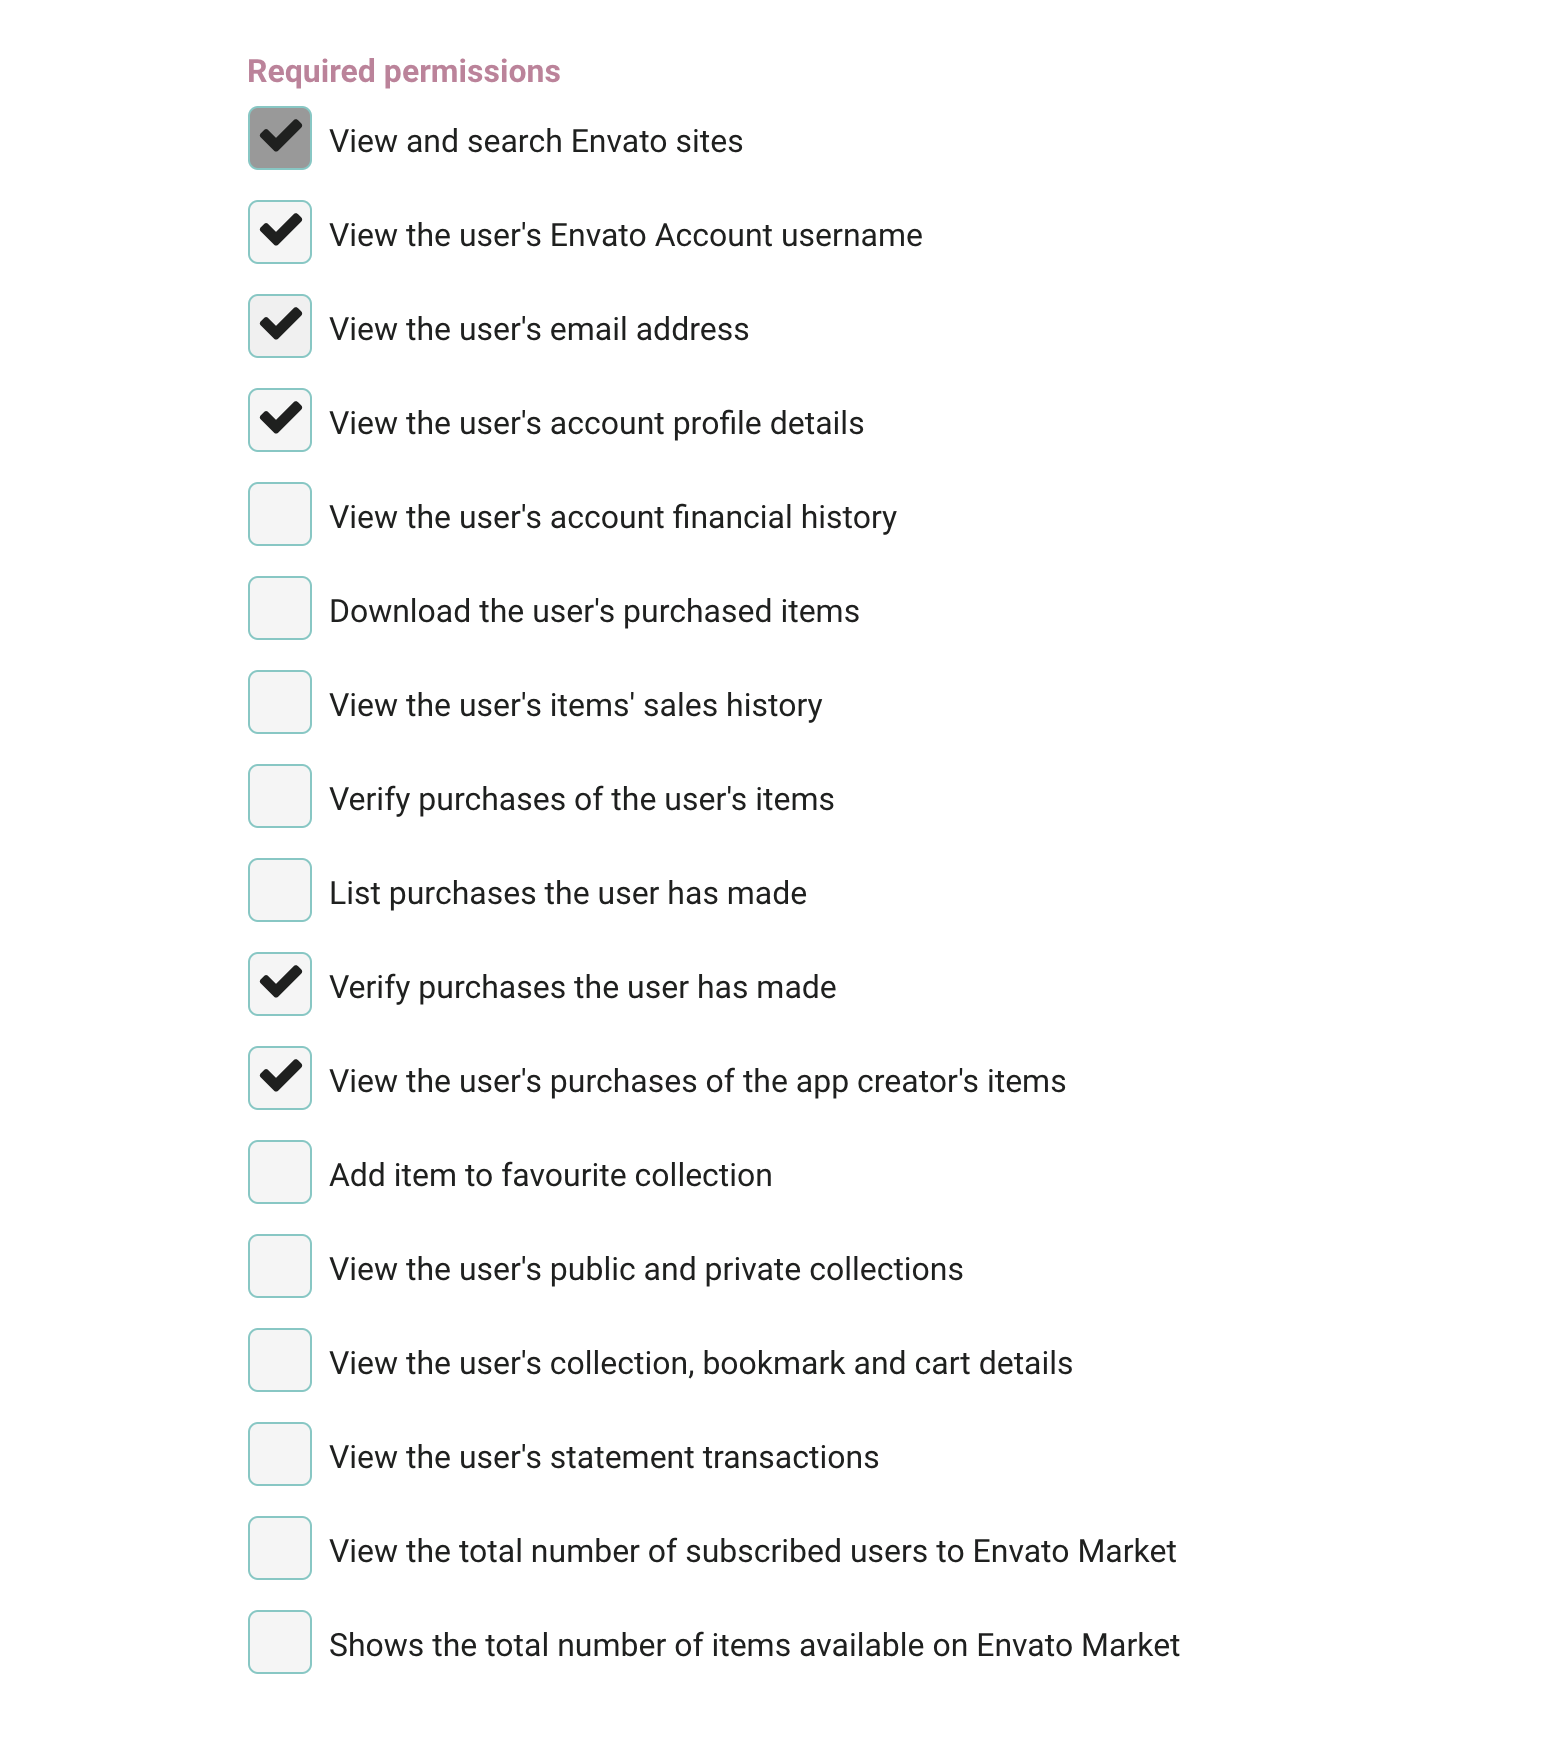
Required Permissions
These are the permissions that your app needs to work properly. Pick the following permissions from the list:
- View and search Envato sites
- View the user's Envato Account username
- View the user's email address
- View the user's account profile details
- Verify purchases the user has made
- View the user's purchases of the app creator's items
Confirmation URL
The confirmation URL depends on your Support Hub subdomain and it should be formatted like following: https://YOUR_SUBDOMAIN.support-hub.io/envato/callback
For example, if your help desk is located at my-test-company.support-hub.io then your callback should look like https://my-test-company.support-hub.io/envato/callback
NOTE: If you are using a custom domain to access your help desk, then your callback URL should look like https://yourcustomdomain.com/envato/callback
In this case, your customers will be able to authenticate with their Envato account only when they access your help desk via the custom domain.
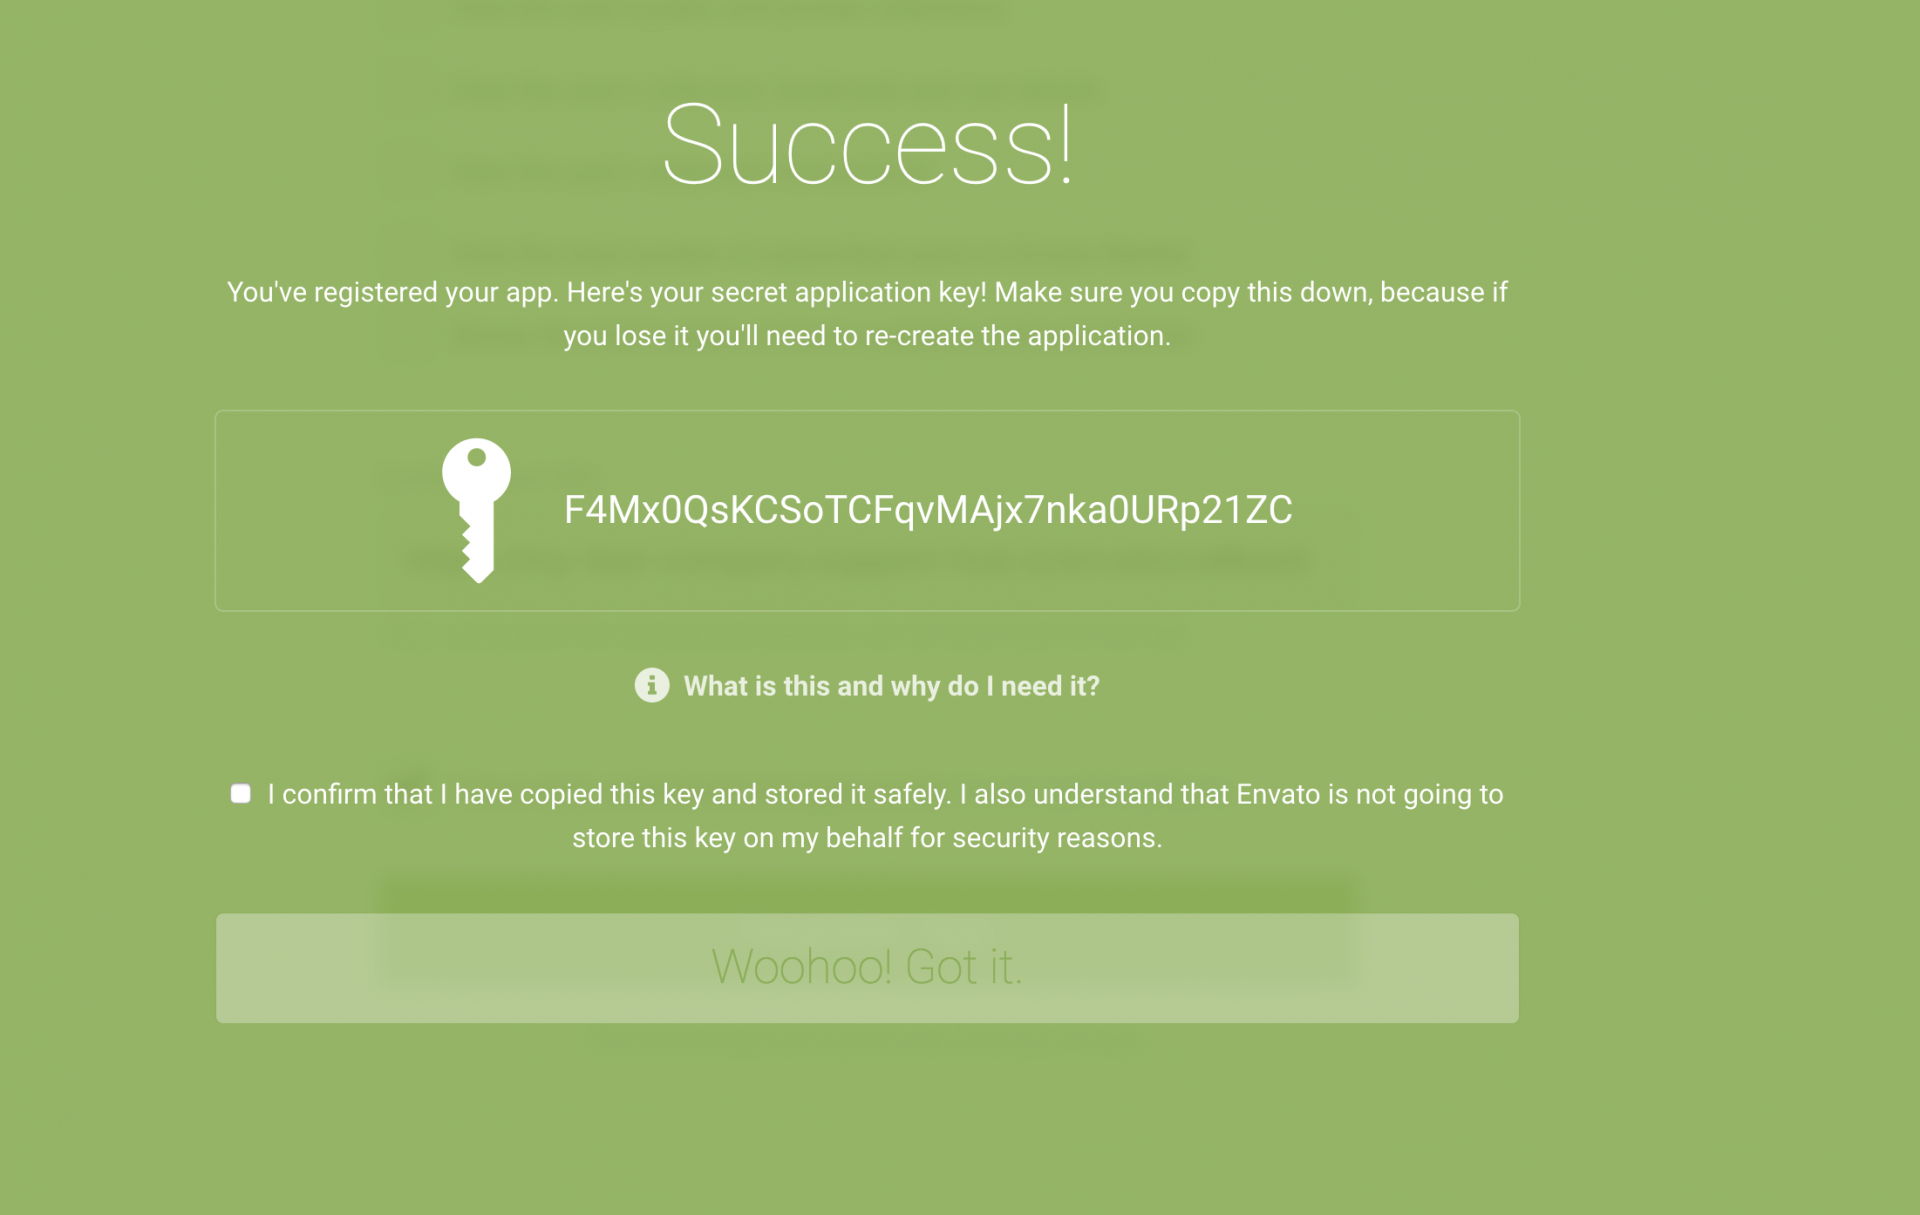
Application Key and Secret
Once you fill the confirmation URL input field, check the "I have read, understood and agree to the Terms and Conditions" checkbox and click the big green Register App button.A new green popup should appear with your application secret key in it. Make sure you copy that secret key somewhere so you can access it later, check the "I confirm ..." checkbox and click the "Woohoo! Got It." button.
After clicking the "Woohoo! Got It." button, you will be redirected to the list of your Envato applications and your newly created application should be listed under "Apps you've registered" heading.

Step 2: Updating Support Hub Settings
Once you have successfully registered your Envato app, all you need to do is to copy your application key (displayed as OAuth client ID on the screenshot above) and your secret key (the one you copied from a green pop-up) and paste them into appropriate Support Hub input boxes, like it is displayed on the image below: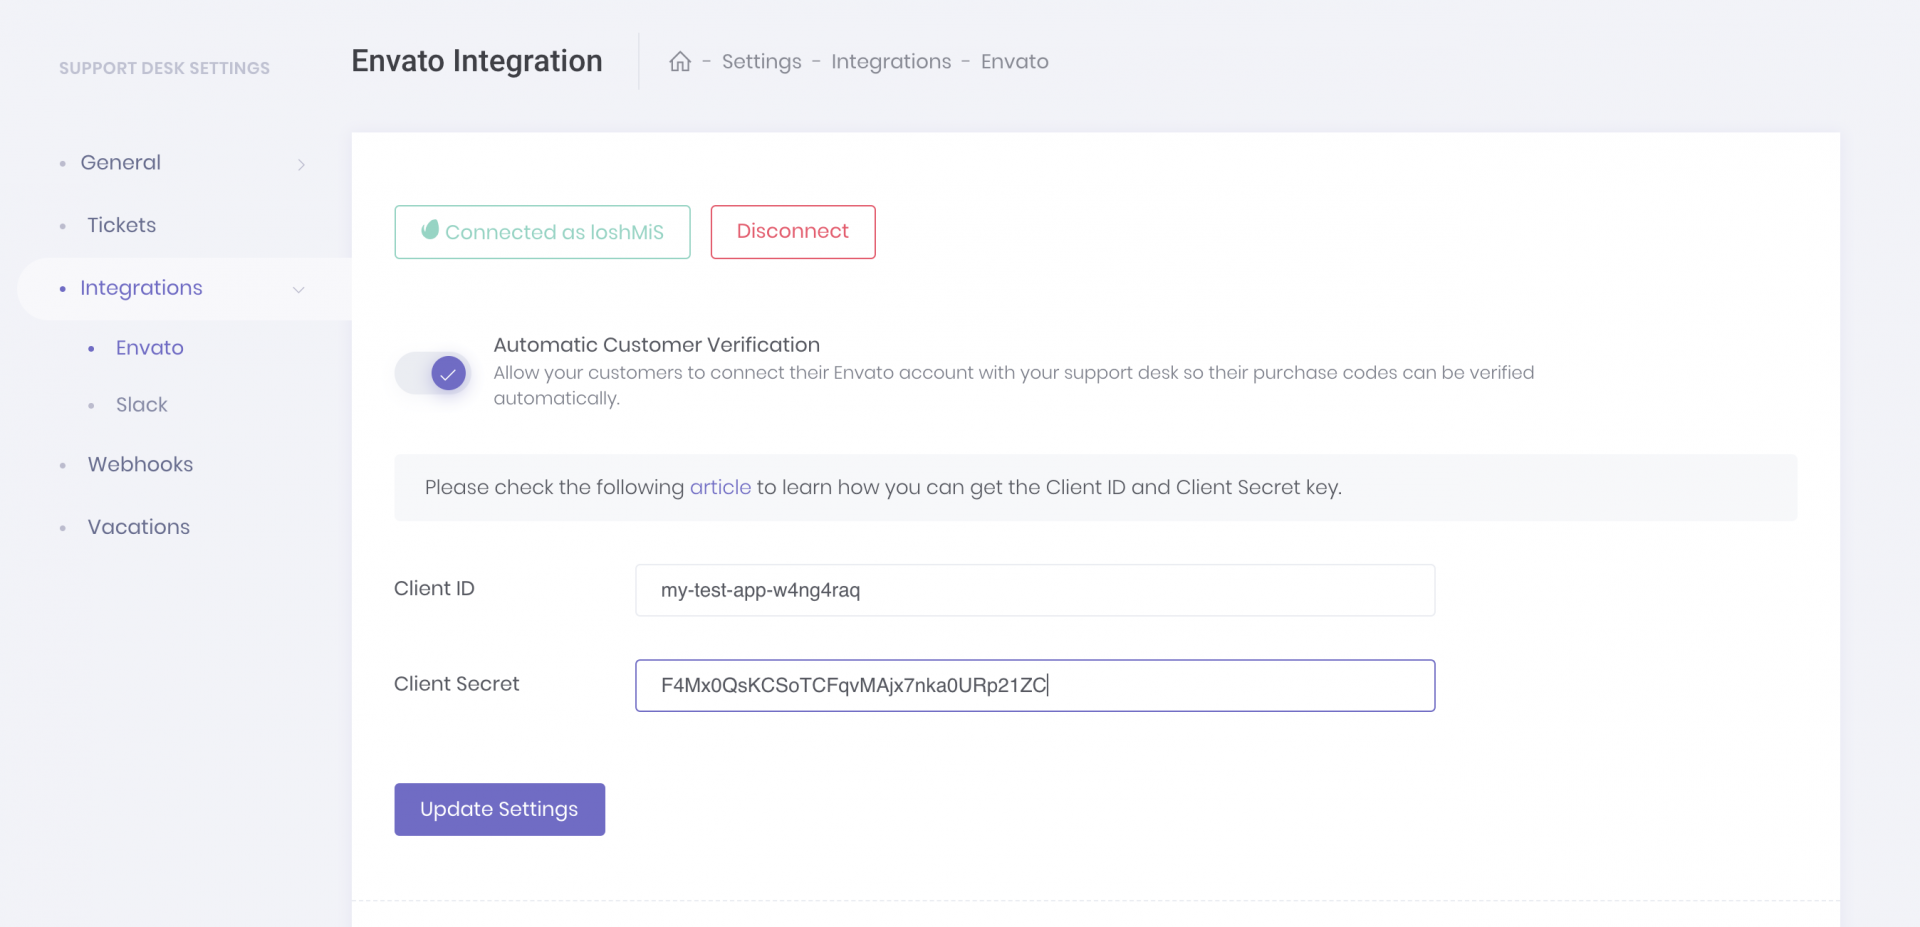
Now hit the "Update Settings" button and that's it, your customers will now be able to connect their Envato accounts to your support desk and verify their purchases automatically.